Setup your own localhost tunneling service for your Mozilla Web Things gateway
Hey Guys,
It has been a while writing blogs, and I wanna give a fresh start again with some interesting open source tools, which can help you to access your IoT prototypes from anywhere securely using your very own custom domain name. This blog is inspired by Mozilla's IoT project which uses similar concept to securely access their Web Things gateways.Today I have come up with something interesting which you can try at your home to securely access your localhost servers through a custom domain name. Although you need to invest some pennies to buy your own domain name, most of the other stuffs are free to use in this project !!
In this blog, what you will learn ?
- How to setup and run an EC2 server in AWS
- Installing NGINX and Pagekite in your EC2 server
- How to buy and manage your own custom domain name in Godaddy
- How to Create a wildcard DNS( to create multiple sub-domain)
- Run a localhost client application in Raspberry pi( it can be any client device, i love raspberry pi )
- Expose your localhost application to internet securely and access it from anywhere using your custom domain name
Things you need for this projects are listed below
- AWS account - Free Tier is enough
- pagekite
- Raspberry pi (or) any client system will do the thing
Recommended reading :
I don't want to reinvent the wheel as there are lot of blogs available to setup a free AWS account and buy a domain in Godaddy. Just click the links below and activate your first AWS account and make sure you are using the services within the free tier limits to avoid excessive billing
and you can follow the steps in this link to buy and manage your own domain name from godaddy, please note that the domain name is not free !! you can try with some freely available domain names too.
Assumptions :
Here I have assumed that you know the basics of Webservers , what is an A-record , what is a CNAME record and familiar with basic linux commands. Install Node JS and git in your raspberry pi for a better experience.
Let's get our hands dirty !!!
Architecture:

Creating an EC2 instance with Ubuntu :
Since I am used to the commands in raspberry pi, I prefer to use ubuntu OS as the commands are same like pi, if you like Linux, you can use Linux OS also to experiment this project as the results will be the same !!
Create an EC2 instance from the list of services and choose ubuntu as your operating system. Leave other things as default and launch your instance. A detailed guide to setup your own Ubuntu based EC2 is explained in this link https://medium.com/@jameshamann/setting-up-an-ubuntu-ec2-instance-from-scratch-78a166167a22
After creating your instance, login to your EC2 instance through SSH , the command to log into your instance is
ssh -i [your AWS key.pem] ubuntu@[EC2-instance pubic IP]
replace the above command with your actual aws key(.pem) file and your instance's public IP address
Note : The IP address of the EC2 instance has to be be static always. If you restart your EC2 instance, your public IP address will change. So be aware of this change and use the correct IP address wherever necessary. If you want a permanent static IP address for your instance you can request for one from AWS but you will be charged.
after you login into your EC2 instance, don't forget to run the command
sudo su
apt-get update
the above commands will give your root use access and install all the latest necessary dependencies for our project.
Install NGINX in your Ubuntu EC2 instance :
To test your instance, it is always good to install a webserver and run it's default webpage. Here we are going to install NGINX as our web server due to it's popularity. You can also use Apache.
To install NGINX, run the below command in your ec2 instance
apt-get install nginx
This will install the nginx server in your ubuntu machine , you can start and stop the nginx server by the following command
service nginx start
service nginx stopNow start your server, and copy either EC2 Public IP address or Public DNS( both are same) and past in the browser, if everything is installed fine, you will see the page like shown below
The IP address shown below is my EC2 instance's ip address

Now you have successfully created your EC2 instance and your webserver !! This is just to test that everything is configured properly and under our control.
Installing Pagekite in your EC2 instance :
Pagekite is an open source tool for a fast, reliable localhost tunneling solution. You can install pagekite by following the below steps
Before installing pagekite, create an account in pagekite and install python in your ubuntu machine by typing the following command
apt-get install pythonTo create a pagekite account, click this link and fill in your details and choose your free kite name https://pagekite.net/signup/ , Eventhough the software is opensource it is not 100% free forever, you can use the software free for 30 days, after 30 days you can use pagekite by paying a minimum amount which you can contribute to the community to continue using their service. If you are building a FOSS then it is completely free.

After signing up, note down your default kite secret key which we will be using later( you can change the key too)

After creating an account in pagekite, move to your EC2 instance
- Create an empty file named "pagekite.py" in your root directory
- Copy and paste the entire code from the link https://pagekite.net/pk/pagekite.py into the pagekite.py file which you have just created.
That's it....we can come back and continue our pagekite after configuring our domain name.
Managing your DNS:
After purchasing your own domain at Godaddy, Click "DNS" under your products page

you will see your DNS management page like below

Add an A record pointing to your EC2 instance's IP address, you can use "*" as your Host, "*" defines the wildcard domain where you can use any number of subdomains like( xyz.your-domain.com).

After this configuration, type any subdomain associated with your domain name in browser something like http://abc.your-domain.com or any other sub-domain as you like, all the request will point to your EC2 instance and you will see our NGINX server default web page like before.
Now let's stop the NGINX server running in our Ubuntu Machine using the command
Now let's run a client application in our raspberry pi
Similar to EC2 instance,
Clone the repository in your home directory using the command
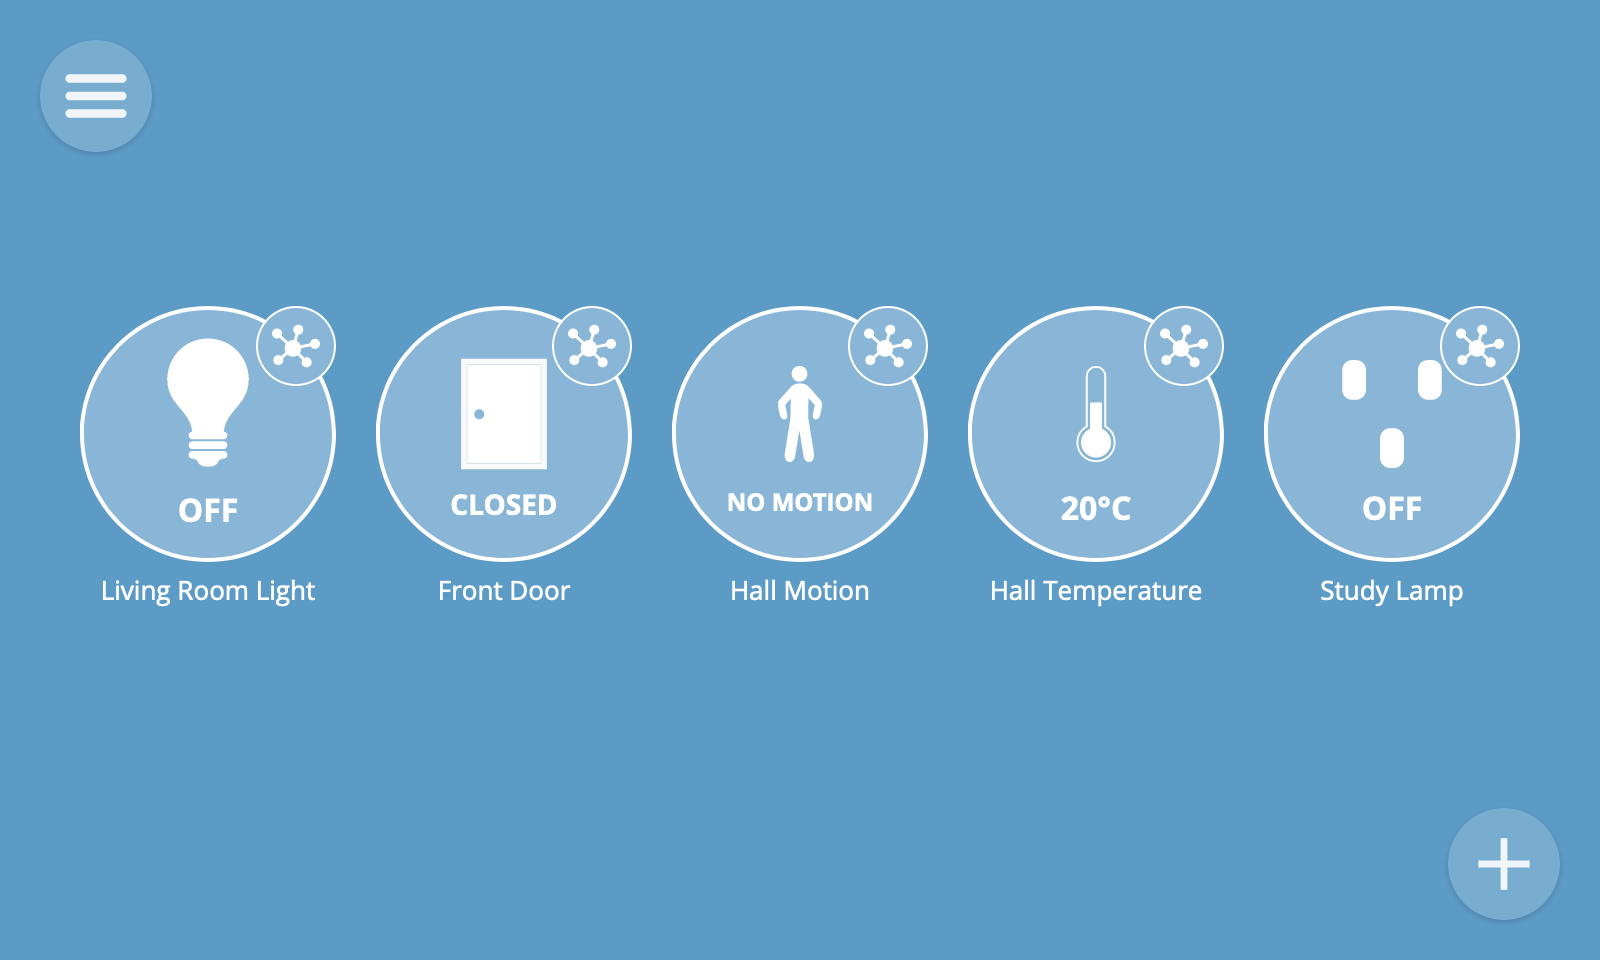
Now your IoT gateway will run on port 8080 (remember the port number)

Open another raspberry pi terminals and run the below pagekite command
Now let's stop the NGINX server running in our Ubuntu Machine using the command
service nginx stop
Now let's run a client application in our raspberry pi
Similar to EC2 instance,
- Create an empty file named "pagekite.py" in your raspberry pi home directory
- Copy and paste the entire code from the link https://pagekite.net/pk/pagekite.py into the pagekite.py file which you have just created.
Clone the repository in your home directory using the command
git clone https://github.com/mozilla-iot/gatewayinstall the gateway, following the steps given in the above github link and start the application using the command
npm start
Now your IoT gateway will run on port 8080 (remember the port number)
Let's Expose our localhost application to internet :
run the below command in your EC2 instance with your domain name and pagekite secret, python pagekite.py \
--isfrontend \
--ports=80,443 --protos=http,https \
--domain=http,https:*.YOURDOMAIN.COM:YOURSECRET 
Open another raspberry pi terminals and run the below pagekite command
python pagekite.py \
  --frontend= api.YOURDOMAIN.COM:80 \
  --service_on=http:SUBDOMAIN.YOURDOMAIN.COM:localhost:8080:YOURSECRET
Since our gateway is running on port 8080, I have given 8080 here. Replace the SUBDOMAIN and YOURDOMAIN with your actual sub-domain and domain names.
That's it now open your sub-domain(http://www.abc.your-domain.com) in your browser you can see our localhost IoT gateway will be exposed to internet under your sub-domain name
http://www.abc.your-domain.com
You can use any number of sub-domain and map with corresponding kite secret keys......CHEERS !!!
Keep your hands dirty and I will come back with more interesting stuffs in near future !! Your comments are always welcome...😊😊
http://www.abc.your-domain.com
Keep your hands dirty and I will come back with more interesting stuffs in near future !! Your comments are always welcome...😊😊

Comments
Post a Comment